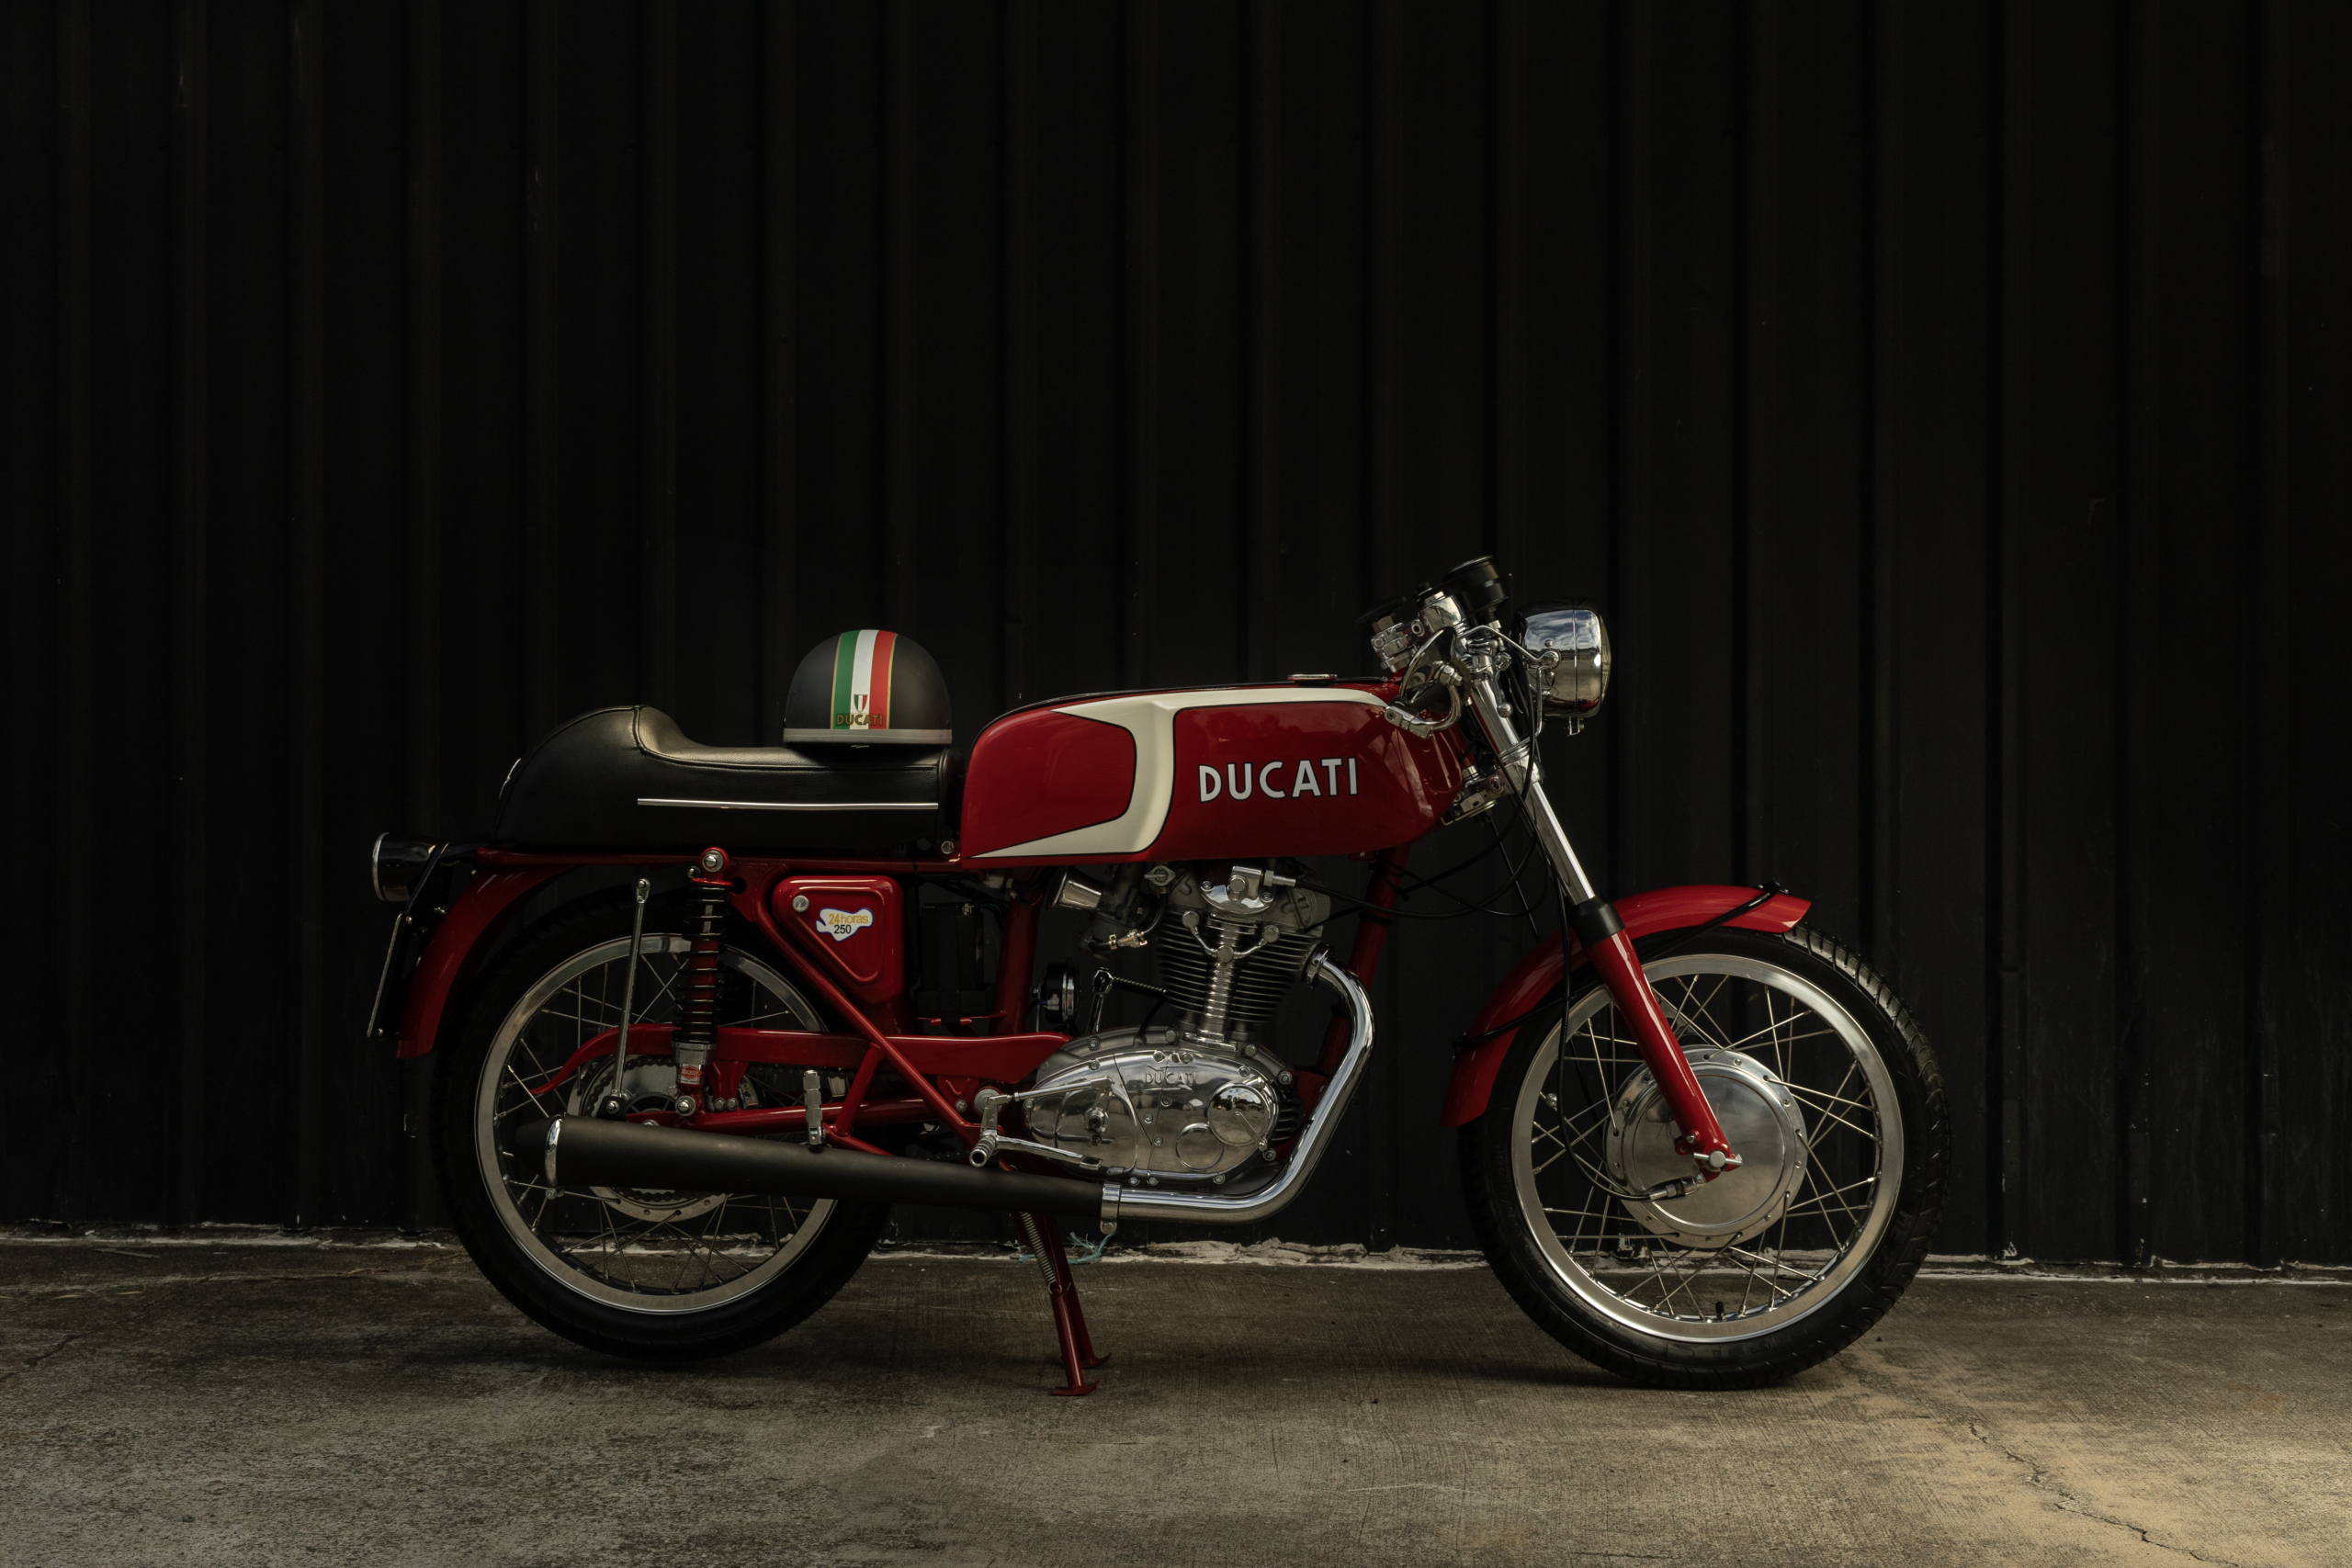
In the world of classic motorcycling, some bikes are famous for their beauty, others for their speed. A rare few, however, are forged in the heat of a single, legendary event, their very name a tribute to the crucible that created them. The Ducati 24 Horas is one such machine. It’s not just another gorgeous Italian single; it’s a fascinating Spanish legend, a motorcycle born in Italy but raised and toughened in Barcelona, its identity forever linked with the brutal 24 Hours of Montjuïc endurance race.
This is the story of that motorcycle, from its origins on one of the world’s most dangerous street circuits to its unique engineering by the Spanish firm MotoTrans. It is also the story of one particular machine’s journey from a dusty warehouse in Spain to a full restoration here in Australia, a process filled with challenges, discoveries, and the unwavering passion that defines our hobby.
Part 1: A Legend Forged in Barcelona
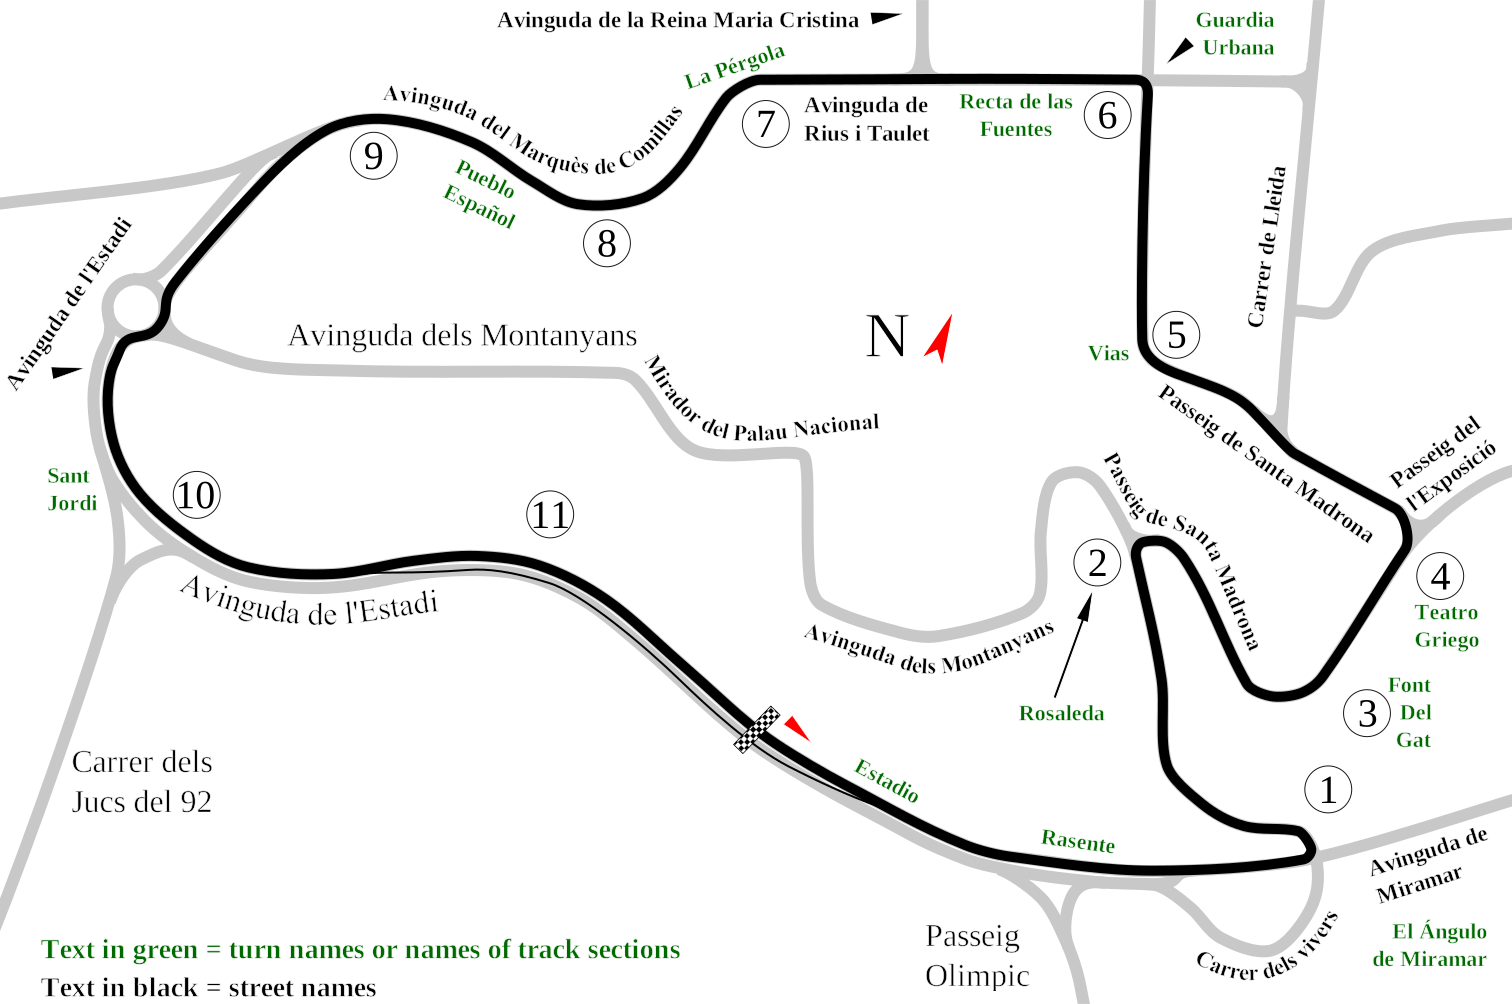
To truly understand the Ducati 24 Horas, you must first picture the place that gave it its name: the Montjuïc circuit in Barcelona. This was no purpose built racetrack. It was a terrifying 3.79 kilometre ribbon of public park roads, twisting and climbing around Montjuïc mountain. Lined with trees, stone walls, lampposts, and unforgiving kerbs, it demanded absolute skill and immense bravery. The annual 24 hour race, held from 1955 to 1986, was one of the jewels in the crown of endurance racing. It was a merciless test of mechanical reliability. Winning wasn’t about being the fastest for one lap, but about surviving a full day and night of mechanical torture. For a manufacturer, a win at Montjuïc was the ultimate advertisement, a badge of honour that spoke volumes to the fanatical Spanish motorcycling public.
The story of the 24 Horas model begins with MotoTrans, a Barcelona company that started building Ducati motorcycles under licence in 1957. Due to the strict import tariffs under the Franco regime, this was the only way for many foreign brands to enter the Spanish market. MotoTrans was more than just an assembly plant; they manufactured many components locally and developed unique models based on Ducati’s designs. They knew that to win the hearts of Spanish riders, they had to win at Montjuïc.
And win they did. MotoTrans prepared Ducatis became the dominant force at the race, accumulating an incredible number of victories. The agile and robust Ducati singles were perfectly suited to the circuit’s tight and twisting layout. After a string of successes, including a significant 1964 victory with a prototype ridden by Bruno Spaggiari and Giuseppe Mandolini, MotoTrans made a brilliant marketing move. In 1966, they launched a production road bike that was a direct homage to their racing triumphs. They gave it the simple, powerful name “24 Horas”.
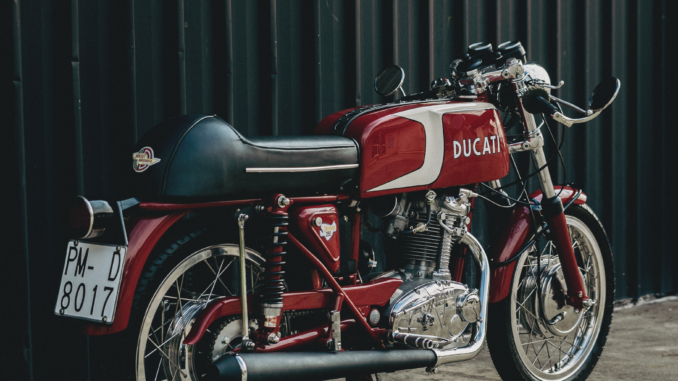
It was an instant sensation. Here was a motorcycle that looked like it had just rolled out of the Montjuïc paddock, a cafe racer straight from the crate. With its long fibreglass tank, clip on handlebars, and rear set footpegs, it looked fast even when standing still. It promised the thrill of endurance racing to the everyday rider, and it delivered.
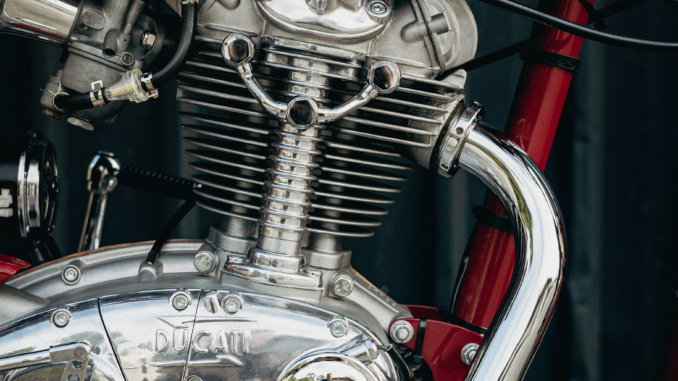
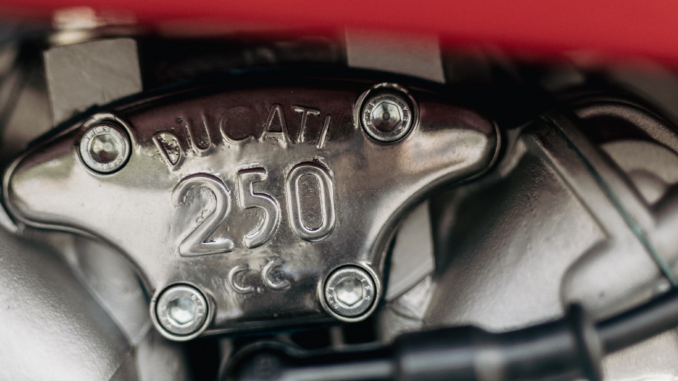
While it proudly wore the Ducati badge, the 24 Horas was a distinctly Spanish machine. The MotoTrans engineers adapted the Italian designs for the punishing reality of endurance racing. The most significant difference was in the engine. While based on the Italian “narrow case” 250 single, MotoTrans completely altered its internal dimensions. They chose a bore and stroke of 69mm by 66mm, a “long stroke” configuration very different from the “oversquare” Italian engines. This resulted in a robust, torque rich power delivery that was less frantic and incredibly durable, perfect for surviving 24 hours at full throttle.
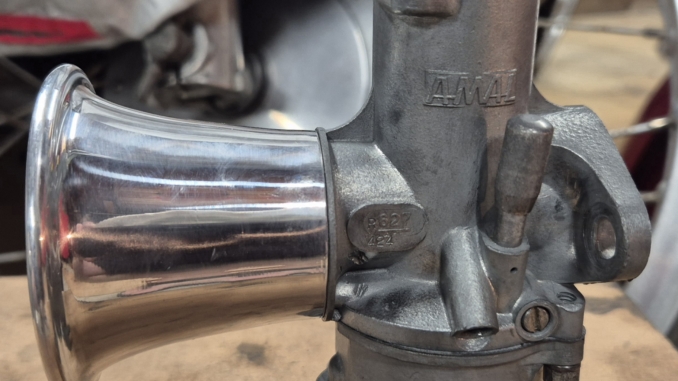
To feed this unique engine, they fitted a Spanish made 27mm Amal carburettor, rather than the Dell’Orto units found on Italian models. This was paired with a high lift camshaft and a high compression piston (10:1) to ensure the bike responded with urgency. Another key upgrade was the five speed gearbox, a relative rarity for road going singles of the era, which allowed riders to keep the engine in its sweet spot.
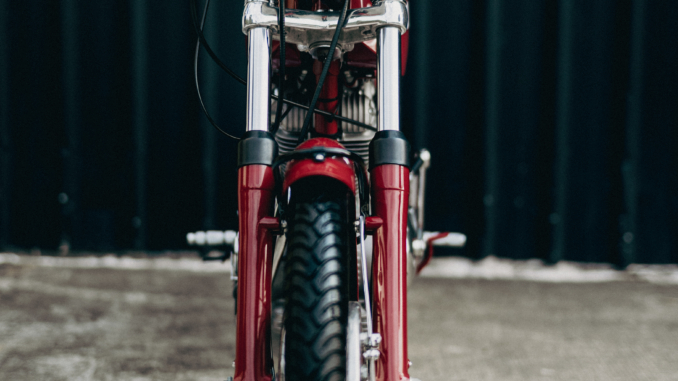
The frame was also a MotoTrans specialty. It was a single cradle design made from thicker tubing than its Italian counterparts, and was heavily braced for extra rigidity. This provided rock solid stability, a priceless quality on the bumpy and fast sections of Montjuïc. This sturdy chassis was matched with quality Spanish suspension from Telesco and Betor, giving the 24 Horas handling that was precise and predictable.
In its home country, the bike is revered for its toughness. In the UK, however, it earned the unfortunate nickname the “24 Horrors”. A batch of bikes imported in the early 1970s suffered from camshaft failures due to a bad run of hardening on the components. This reputation, born from a single faulty batch, was largely unfair to the broader production run of what was, in reality, a remarkably robust machine.
Today, the Ducati 24 Horas is a coveted prize for collectors. It represents a unique chapter in motorcycle history where Spanish passion met Italian flair. It stands as a tribute to the golden era of endurance racing, a time when reliability was just as important as outright speed. Finding a clean, original example is getting harder, making the story of the bike you see here even more special.
Part 2: The Spanish Acquisition

My own journey with this particular model of Ducati began, as these things often do, with a firm declaration. Twelve months ago, I was on a trip to Spain with a friend to visit some Bultaco museums and see an old mate, Albert, from whom I had purchased several Bultacos in the past. As we entered his museum of beautifully restored Pursangs, I told him in no uncertain terms, “Albert, I am NOT here to buy a motorcycle!”
“No problems Dave,” he replied with a smile. “I WILL not try to sell you a bike or even tempt you.” This was despite him having just ridden around the car park on an immaculate, original Ducati 50 Senda as we arrived. We spent a good three hours looking at an incredible collection of Bultacos, Montessas, Hondas, and other mostly European dirt bikes. Then, just before lunch, Albert said, “Dave, come and have a look at my Dad’s old bike.”
He led us to another part of the warehouse, down a set of stairs, and at the bottom was a 1973/74 Series 3 Ducati 250 24 Horas. It was rough, but it was complete. After sitting on it and doing a quick internet search, I turned to Albert and said, “I will take it.”
“But Dave,” he protested, “you said not to sell you a bike and I haven’t told you a price yet!”
“I know,” I said, “but I want it and I know you will look after me, you always have.”
A deal was struck, and we went to lunch where Albert’s dad found out he’d sold the bike. It turned out they had been offered over twice what I paid for it that very morning!
Now the challenge was getting it home from Spain. People often shy away from importing bikes, thinking it’s too complex, but having done it six times, I can tell you the process is pretty simple, just a bit long winded. The most frustrating part for me is usually being told by quarantine that the bike is dirty and needs cleaning, which you have to pay for, only to pick it up and find it untouched in its original packaging.
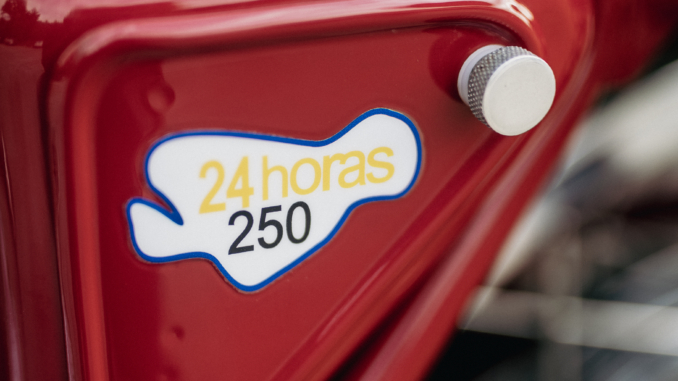
While waiting for the bike to arrive, I dove into research. It quickly became apparent that because of the scarcity of this particular model and series, determining exactly what an original bike looked like was going to be very difficult. Most of the original pictures I could find were in black and white, though these later proved handy for working out pinstripe and decal placement.
Even identifying which of the three series the bike belonged to was a challenge. Around 2,000 machines were produced in total between 1966 and 1974. The second series introduced a racing hump on the seat and larger brakes, with the front being a twin leading shoe unit. The third series, from 1973/74, used an Amal Concentric carb and had a more prominent seat hump. After scouring websites, Facebook pages, auction records and Mick Walker’s Ducati Singles book, I was no clearer. There seemed to be some crossover of parts between the series descriptions. However, I knew the engine number of my bike was late in the sequence and it had an Amal carburettor, so I was happy to call it a Series 3.
Part 3: Teardown and Discovery
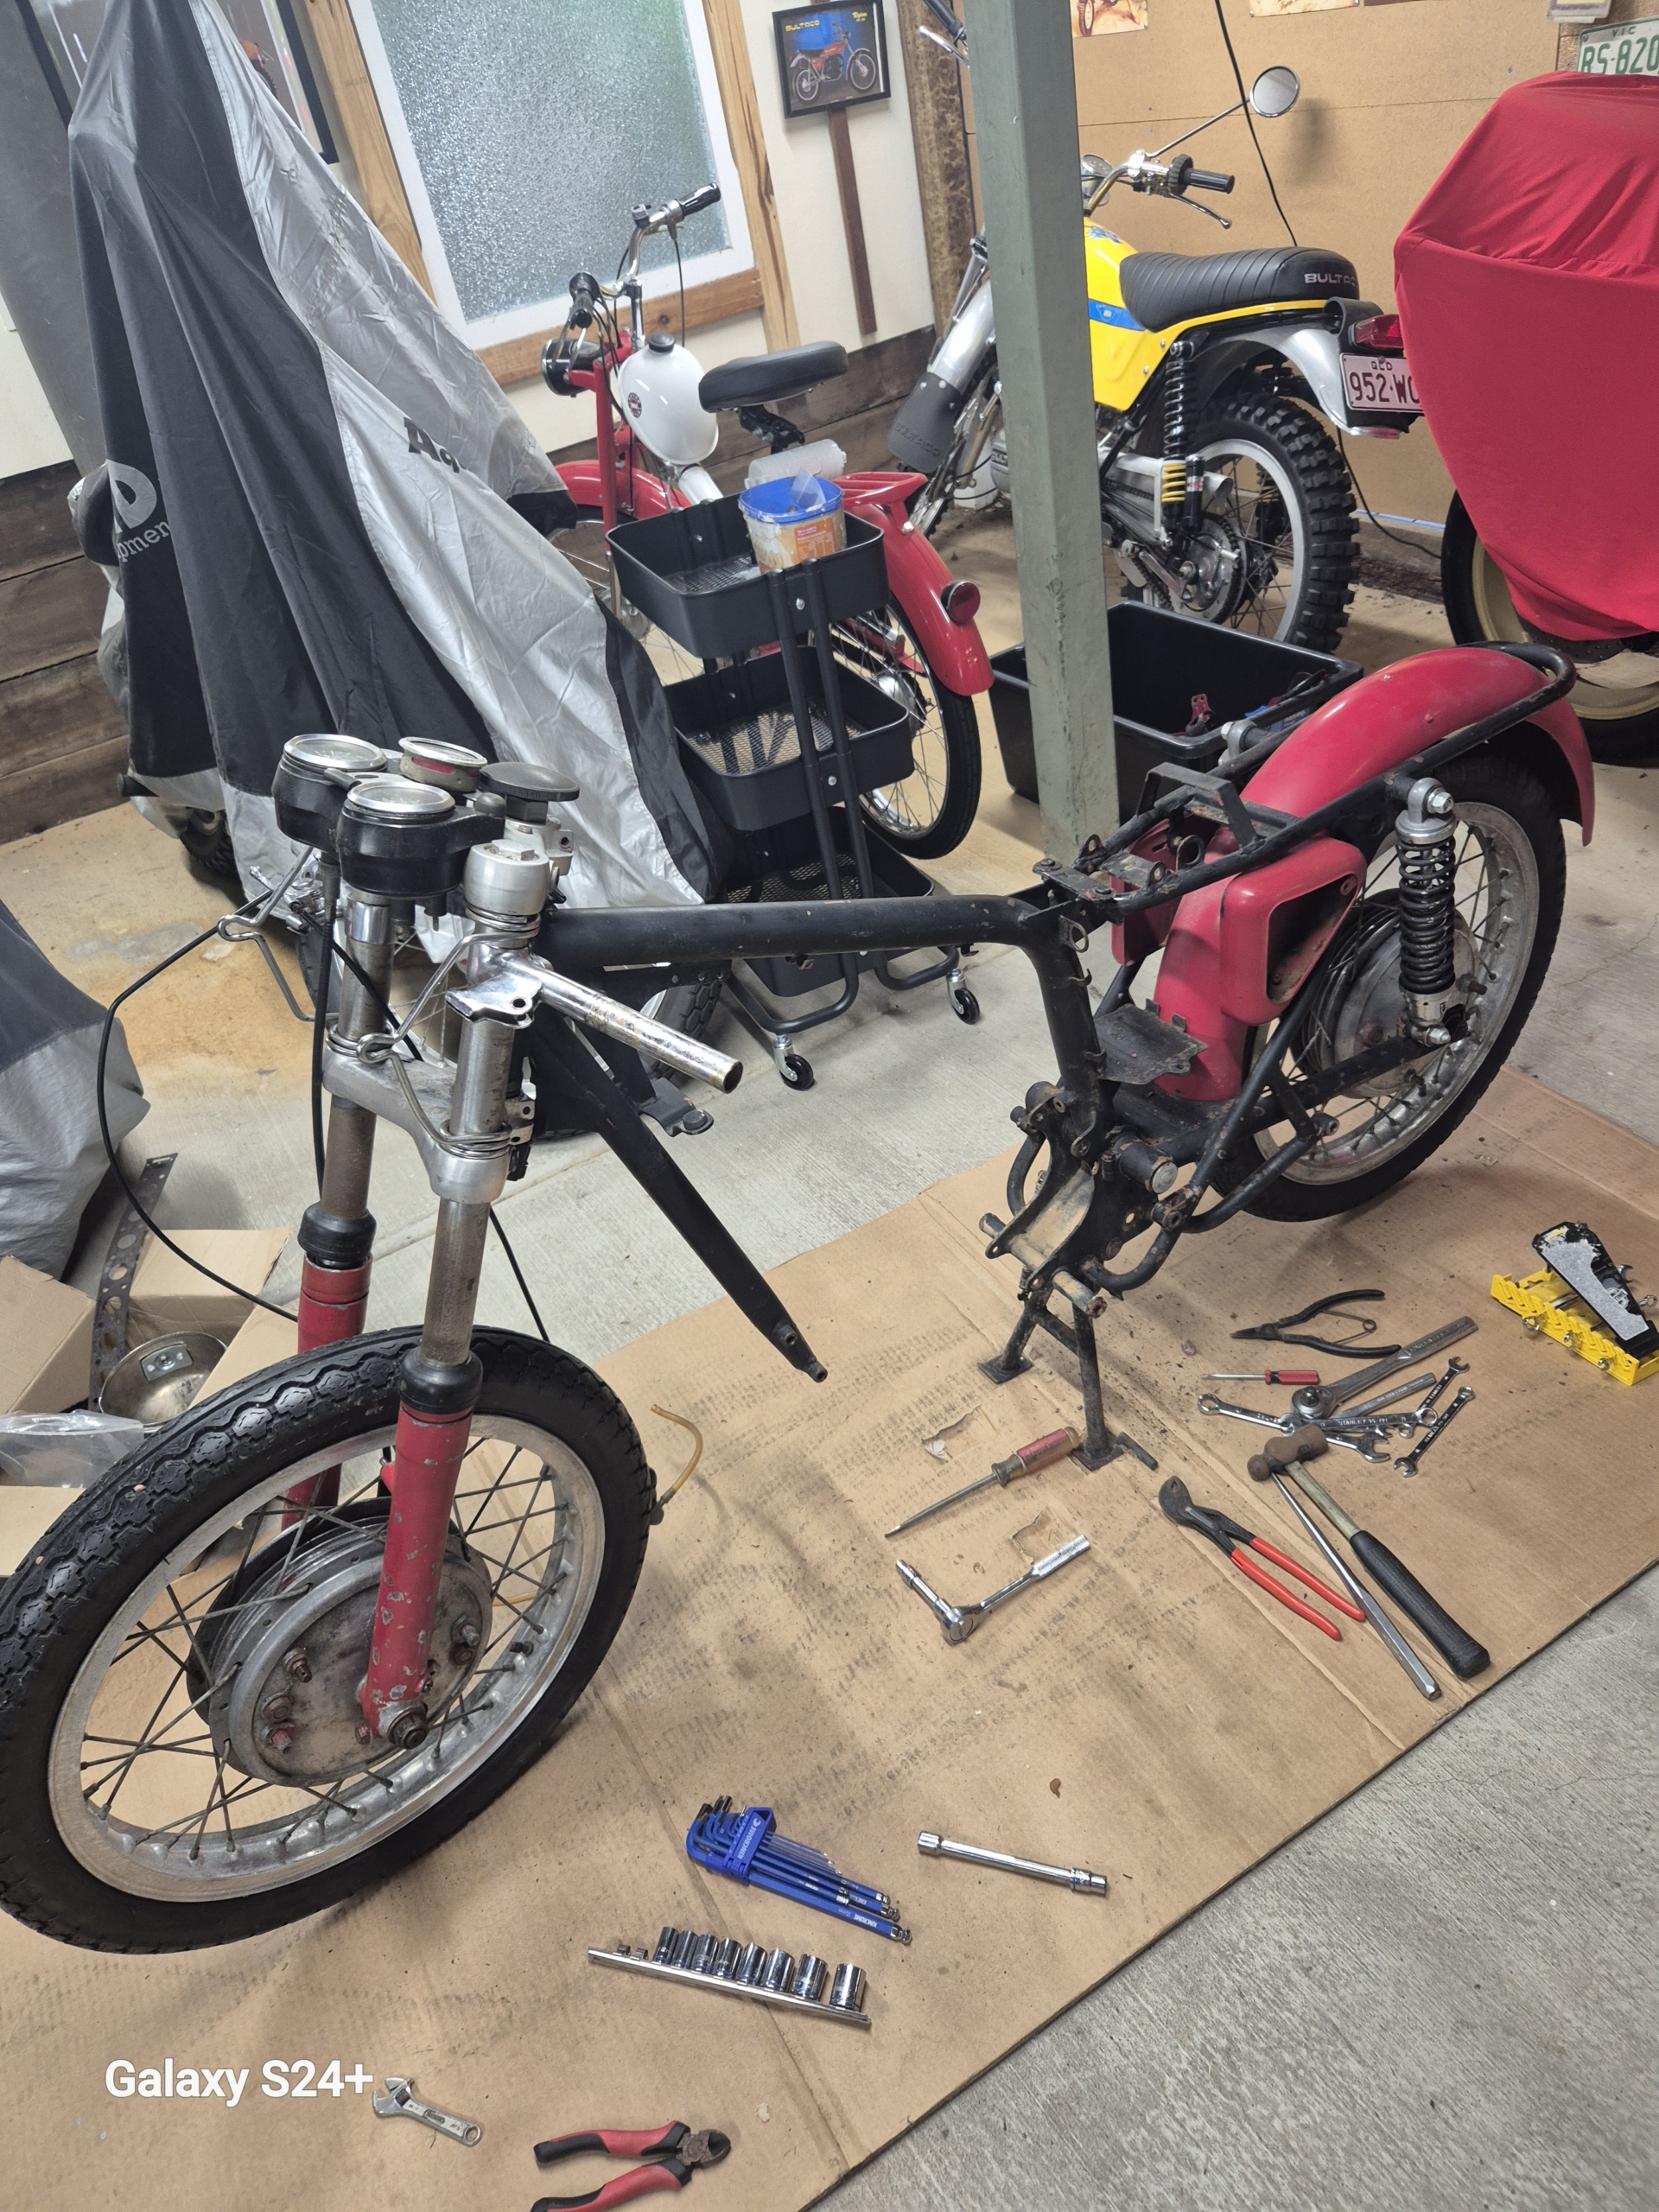
The disassembly process began with lots of photos. I had a suspicion this would be a long project due to the difficulty of finding parts and the long lead times for services like paint and chrome. Early on, I removed the fibreglass tank. Holding it up to the sun, I could see some areas that needed repair well beyond my skill level. A quick call to a local expert, Paul Borowinski, led to a verdict I didn’t want to hear. A previous owner had used some sort of exotic fuel that had dissolved the gel coat and delaminated the tank. In his opinion, it wasn’t worth saving. This was a major problem that would require a future solution.
With tools, labelling tape, plastic bags, and containers at the ready, I started the teardown. As I pulled the bike apart, I’m sure my wife Carolyn got sick of hearing me mutter, “Bloody Spanish backyard butchers.” In reality, the bike came apart easily, but there was a mix of non uniform nuts, bolts, and studs, many of them corroded by salt water. This was somewhat explained by the number plate. When I posted a picture of the bike on a Spanish MotoTrans site, a member informed me that the bike was from the Spanish island of Majorca.
Then came the part every restorer loves: making a parts list and scouring the web. Being a rare, Spanish built model didn’t make the task easy. Although the bike is based on a narrow case design, I could only find one supplier in the world who had a gasket kit, and he wouldn’t ship to Australia. It was the same story for the decals, fork dust covers, and the bearing felts for the wheels. Luckily, my Spanish mate Albert came to the rescue, taking delivery of these parts and forwarding them on to me. The rest of the standard parts came from the usual suppliers like Guzzino, Lacey Ducati, and Ducati Vintage. The carburettor rebuild kit, however, had to come from Steadfast Cycles in the UK, as the carb is an Amal Concentric.
With the bike disassembled and parts ordered, it was time to farm out the big jobs. I cajoled Bernie Stevenson, a well known name in our club, into doing the engine rebuild. I knew he would do a first rate job. A new racing clutch, a 12 volt conversion kit, and the precious gasket set were delivered to Bernie to get him started. For chroming, I decided to try Cooks Electroplating. The paint would be handled by a good mate, Steve Parry.
But there was still the issue of the unusable tank, and now, the footpegs. The pegs were deformed and in very poor condition, and hours on the internet had been fruitless, mainly because they had a straight cut knurl rather than the more common diamond pattern. This is where another club member, Des Stutterd, a highly qualified machinist, stepped in and volunteered to make a perfect new set for me.
As for the tank, I had found an aluminium reproduction from a company in India. I was very sceptical, given the stories you hear, but after posting a question on the Ducati 24 Horas Facebook page, the person who had given the Indian company his tank as a model vouched for them. After exchanging numerous emails confirming dimensions and details, I took the plunge. I’m happy to say the tank was a great buy and a very good replica.
With the major problems solved, I could start on the grimy work. Polishing the aluminium cases, fork clamps, rims, and hubs seemed a good place to start. For those who haven’t taken on this laborious, dirty, and time consuming job, my advice is don’t start. It’s not much fun, though it is rewarding when you see the finished parts. Out came the various grades of sandpaper, then onto the hard, medium, and soft buffing wheels, followed by hand polishing with Mothers and a microfibre cloth. More than once, I had to go back to the beginning of the process because the finer the polish, the more imperfections you find.
The polishing process also has its dangers. I thought I had trained myself to let go of any part that gets tangled in the buffing wheel. I guess I hadn’t. On the last part of the day, on the final buffing wheel, things went haywire. The part snagged, and the result was a badly broken hand. This happened exactly one week before a planned Tasmanian trip, which I was not going to miss. I decided to skip the doctor, knowing I’d end up in plaster, and instead went for the ‘tight right hand glove support’ method. Let’s just say I was very glad for cruise control on the Multistrada and a drink at the end of each day.
Part 4: The Reassembly Sprint
That broken hand, followed by an operation on my other hand, meant an enforced break from the project. But this time allowed my suppliers of painting, engine work, and chroming to get on with their jobs. The first thing to be finished was the paintwork by Steve, and it looked fantastic. It was great to have parts back, as it meant I could finally make a start on reassembly before my memory of how it all went together faded completely.
I decided to start with the front forks. I had purchased new seals and had the fork legs hard chromed. Des had also turned up a couple of new internal valves for me because the originals had somehow become badly scored and dented. I had taken a lot of photos during disassembly and laid the parts out in order. It didn’t look right. These were typical Betor forks, similar to those on many Bultacos, and something seemed incorrect. As I began to assemble them, it became obvious that someone had put the small spring that protects the components from damage on bottoming out in the wrong spot. “Bloody Spanish backyard butchers,” I muttered one more time.
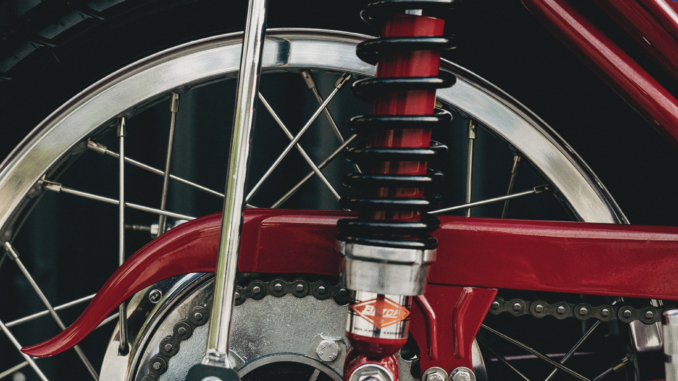
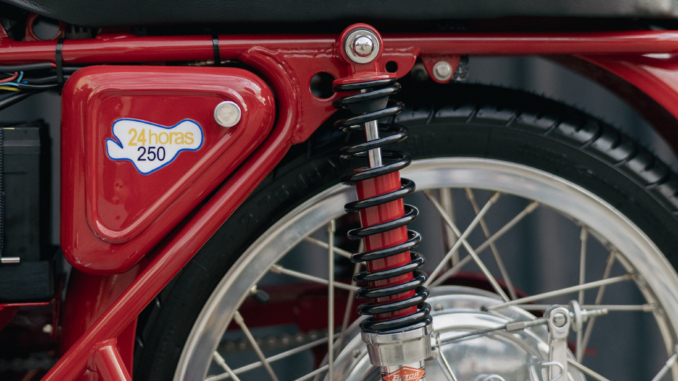
Next was the swingarm pivot bolt. Again, it’s handy to have a good mate with a lathe who can turn up new Delrin bushings, which were unobtainable, and help fit the pivot. In between all this, the seat was picked up from the upholsterer, and what a beautiful job she had done. Now the rear shocks could be fitted. I had purchased brand new replica shocks from Betor in Spain months ago. I took them out of the box, placed them next to the frame, and cursed. They were the wrong colour red! So, off to the paint shed they went. Such is the frustration of restoring a 55 year old motorcycle. However, this did give me the opportunity to get the springs powder coated black instead of the chrome they came with.
I picked up the engine from Bernie, and it was great to see it looking as it would have when it left the factory. Bernie noted there were a few differences between the Italian narrow case and this Spanish cousin. He remarked that the valves seemed small for a replica race bike, but otherwise it was a similar engine. He assured me the rockers had been re hard faced, addressing the infamous “24 Horrors” weakness.
The chrome had also been completed. I made a rookie mistake by not checking the quality before leaving the shop, as everything was beautifully wrapped. When I got home, I unwrapped the parts to find at least 50% of the chrome was of unacceptable quality. After a few choice words under my breath, I called the factory. To their credit, the owner took charge, and without any fuss or argument, the work was rectified to my satisfaction.
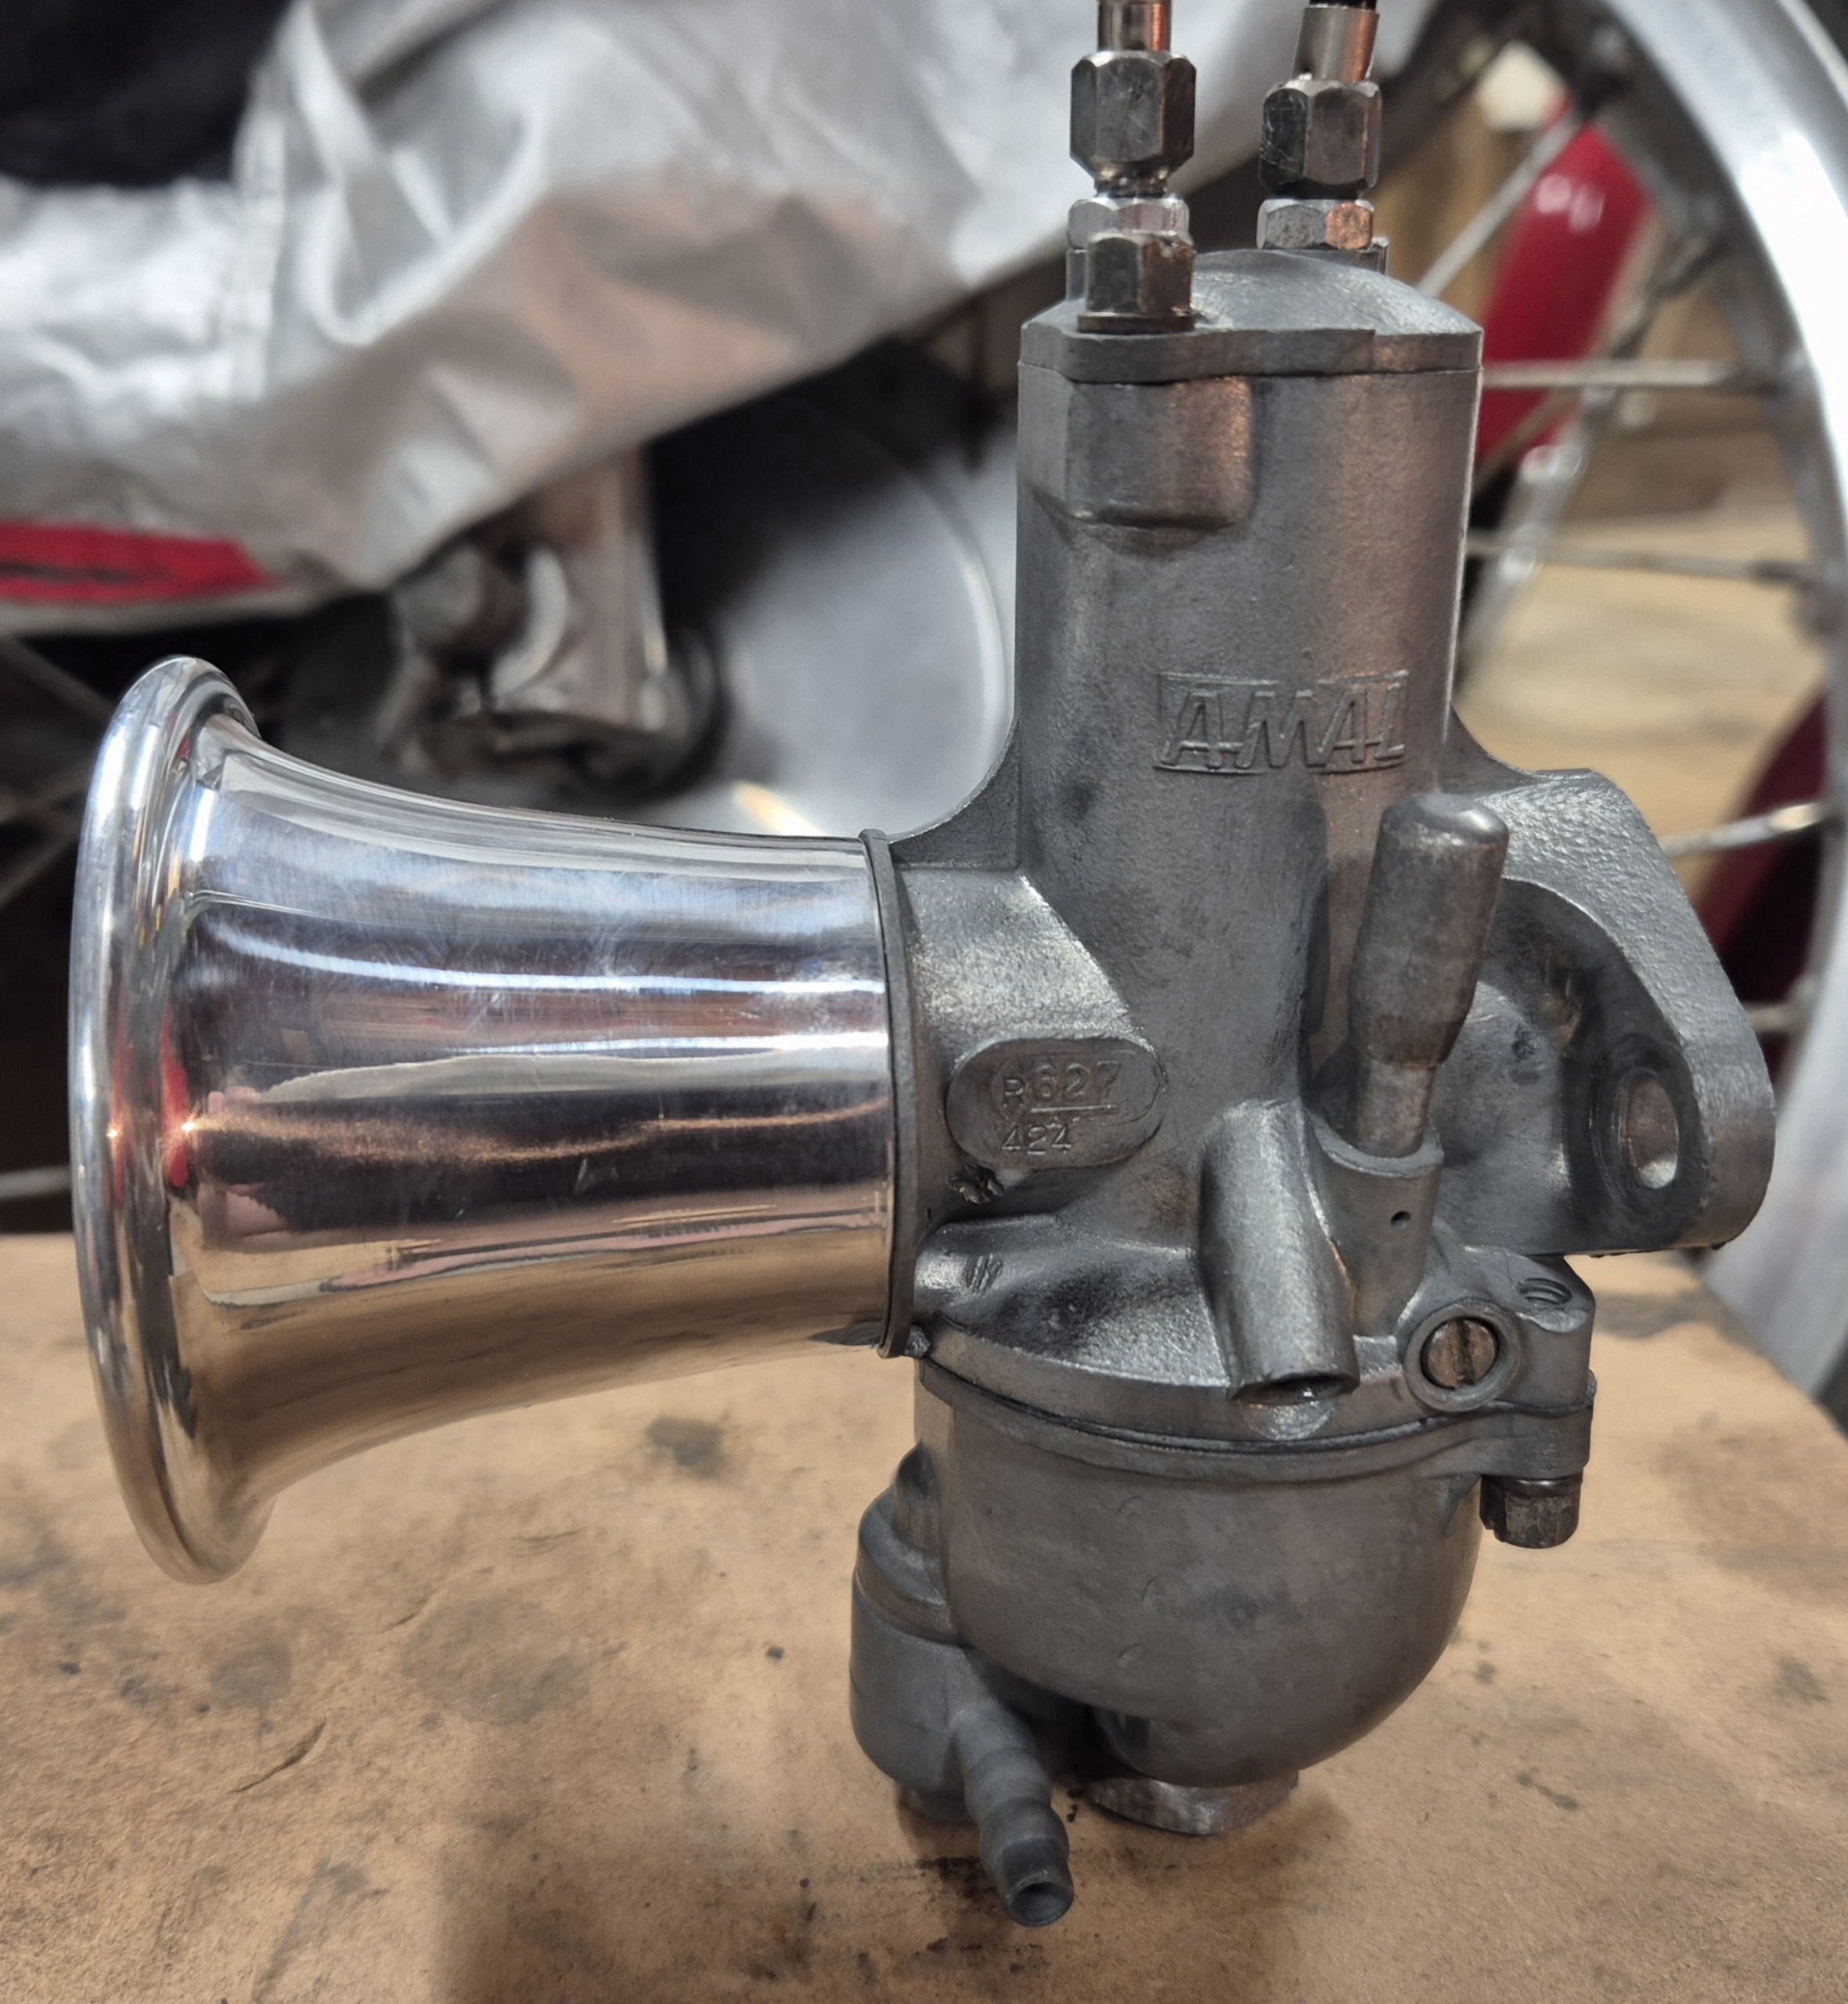
One job I had been looking forward to was rebuilding the carburettor. It was a real mess, a mix of petrol varnish, dissolved resin from the old tank, and muck, including what looked like plumber’s red lead sealant inside the fuel bowl. An ultrasonic cleaner with a mix of distilled water, vinegar, and dish soap soon had the grime shifting. As for the rebuild kit, the one I’d bought months ago was wrong. My bike was fitted with a very rare Mk2 627 Amal Concentric, and I had a Mk1 kit. A quick call to Peter at Bultaco Parts Australia had the right parts on their way.
While all this was going on, there was the endless job of polishing. I had started on the wheels, hubs, and backing plates. The salt water corrosion from its life on Majorca was evident. After having them all vapour blasted, I began the laborious task of sanding. After a full day with little progress, I was lamenting my attempt to “polish a turd” to a mate. On his advice, I called Ash’s Spoked Wheelz. One phone call and a couple of photos later, and it turned out Ash had 13 of the exact rims I needed. Problem solved.
Part 5: The Final Push and First Fire
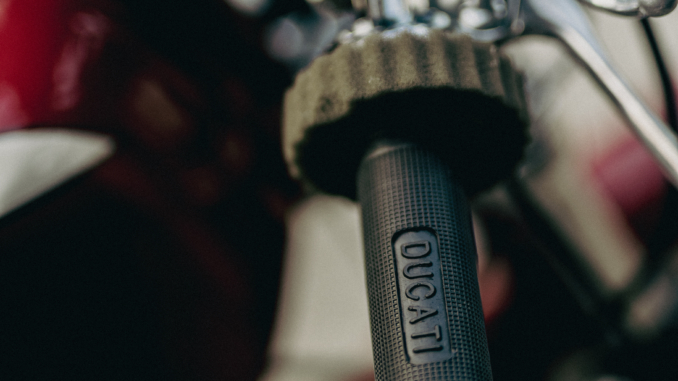
The final assembly, I must admit, was very frustrating. Even with multiple photos and several restorations under my belt, this bike just wanted to fight me. From small things like finding the correct fastener to replace something a previous owner had bodged, to modifying a Bultaco throttle grip because the original was stuffed. I spent hours lying under the bike trying to refit the brake pedal return spring, only to realise I was looking at it the wrong way. All this while trying not to chip the new paintwork or scratch the polished parts. But eventually, it all got done.
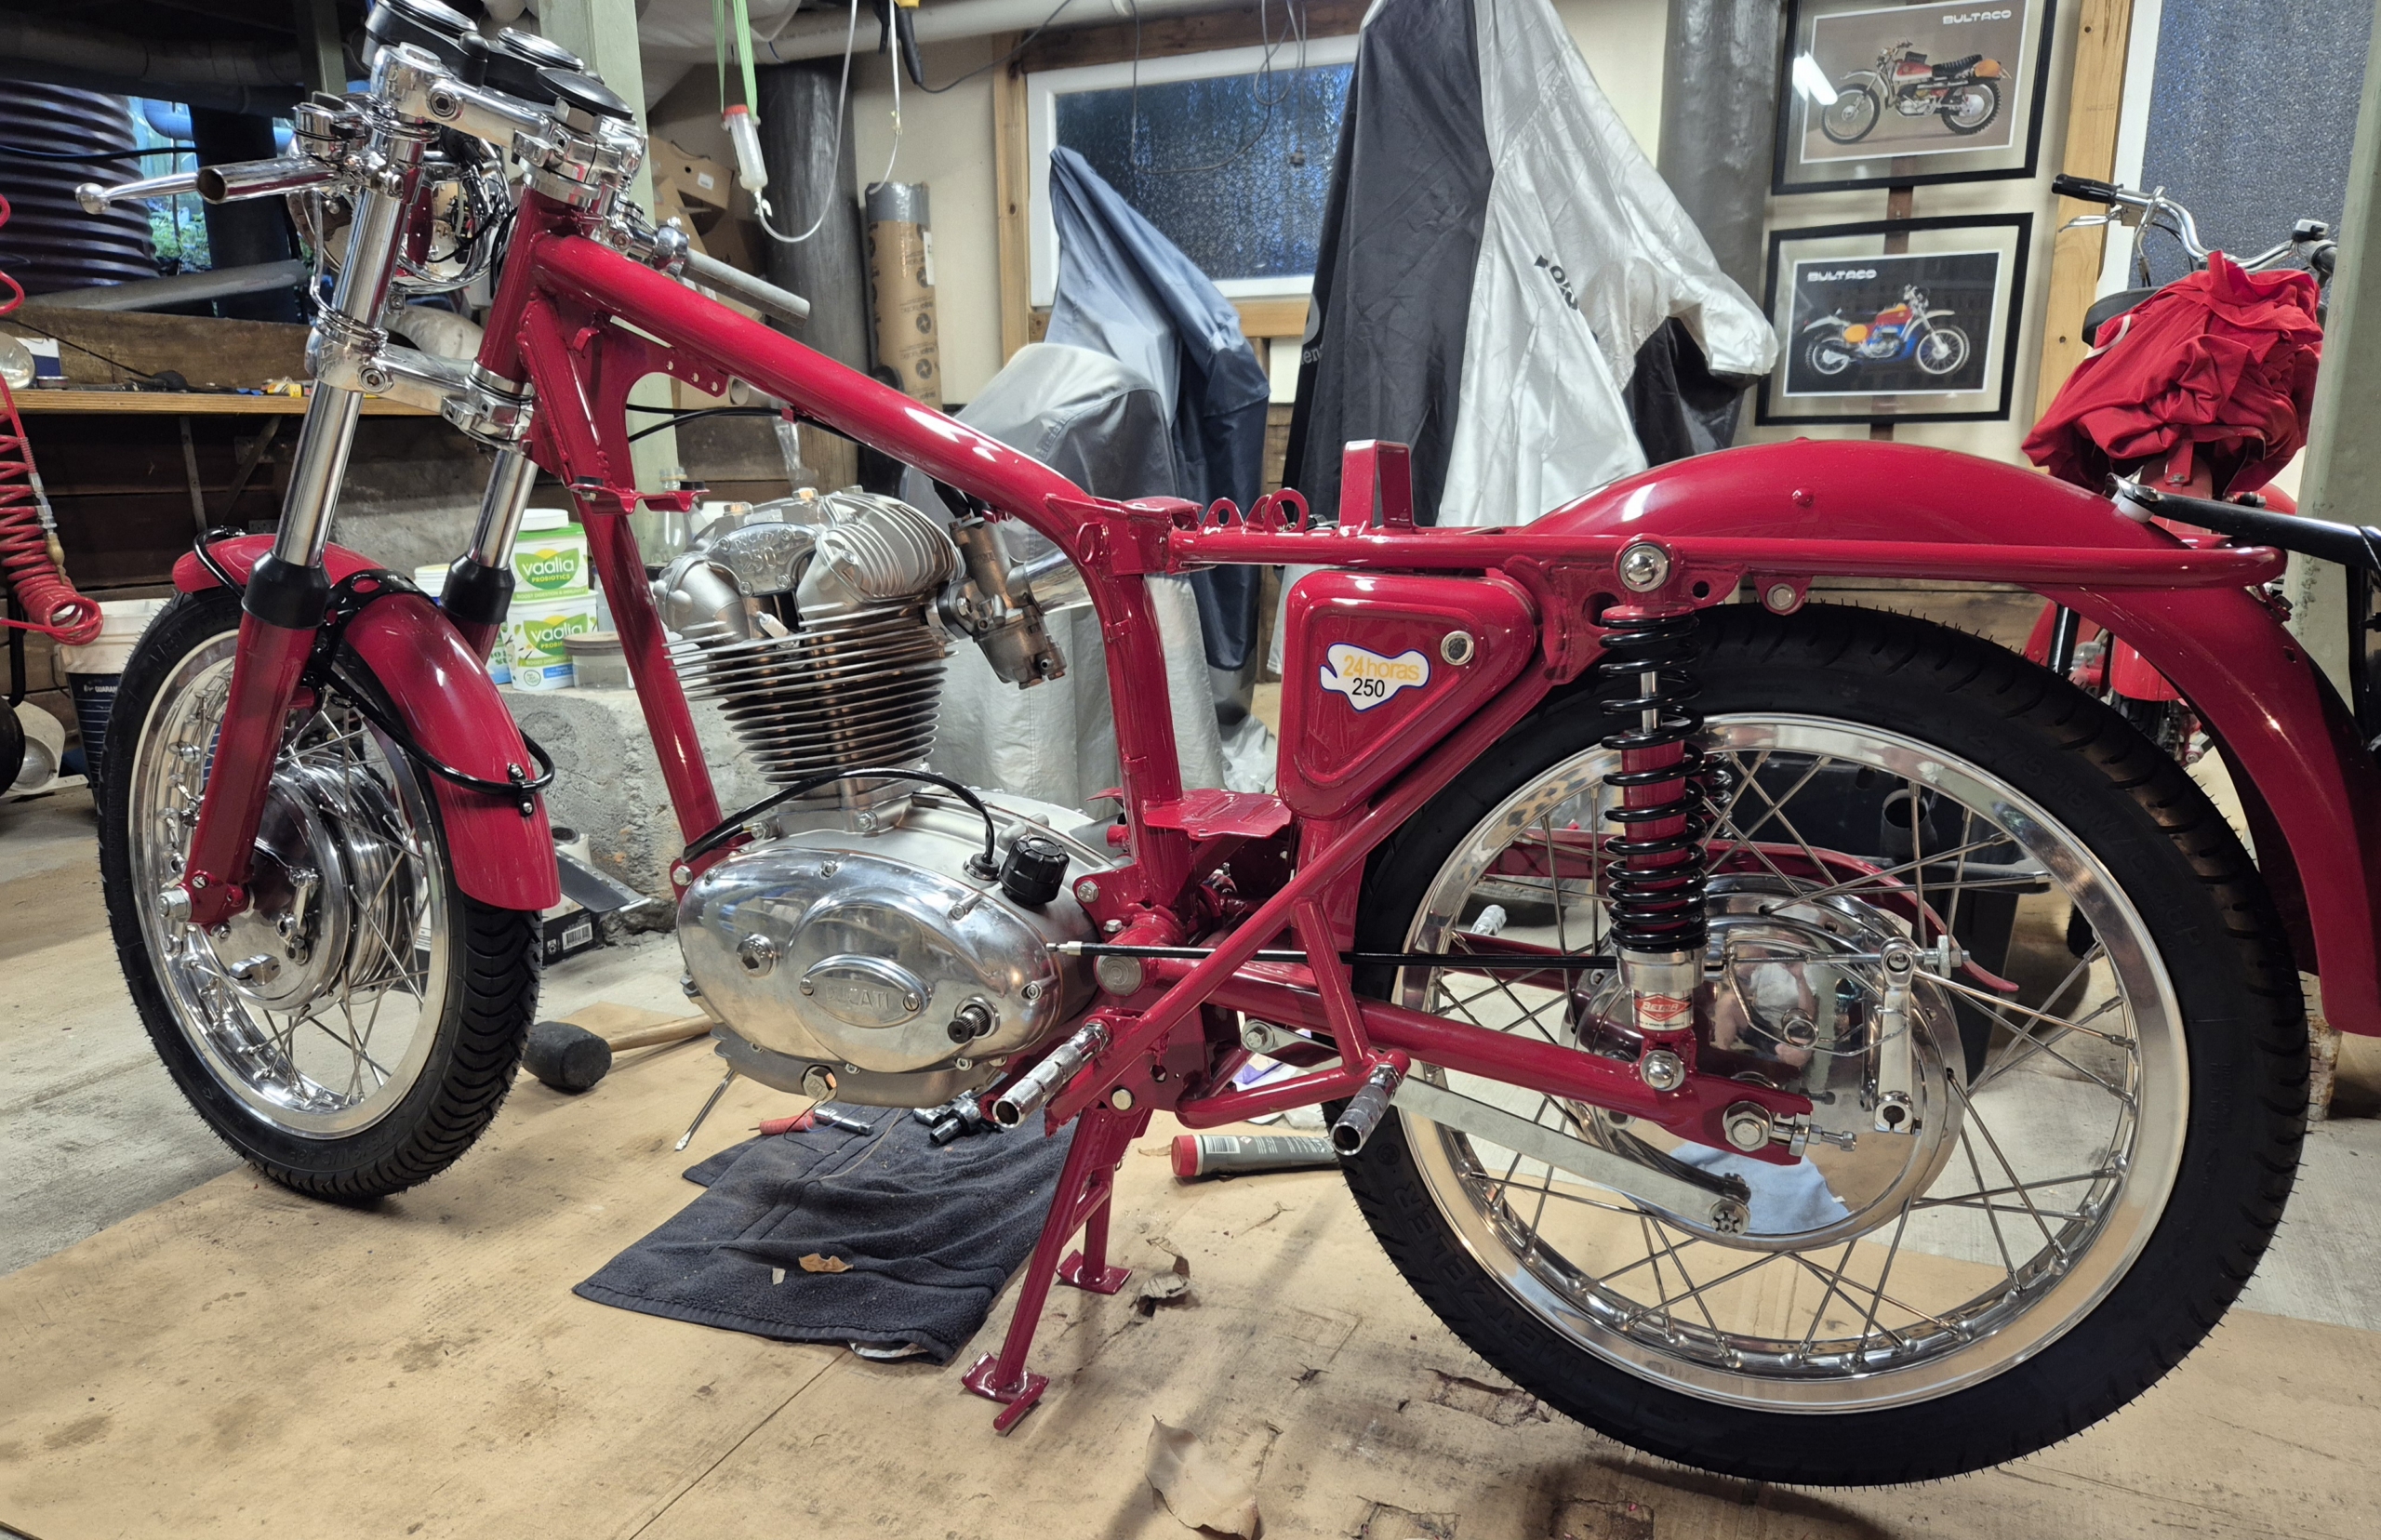
Here are a few before and after shots that show the transformation:
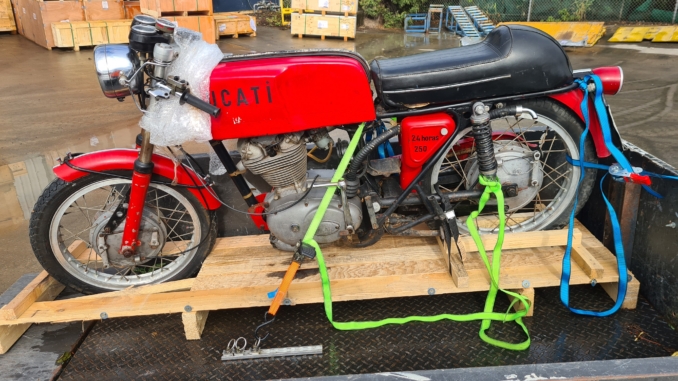
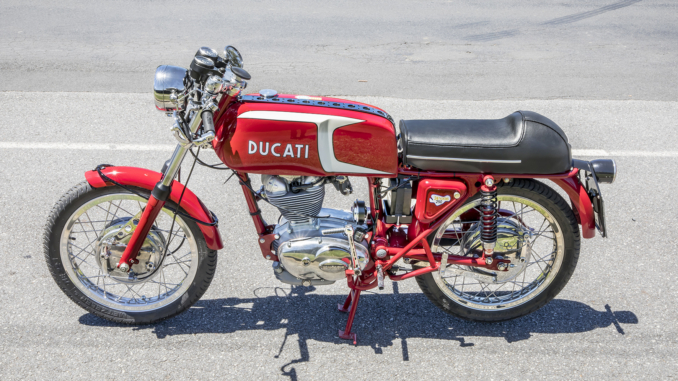
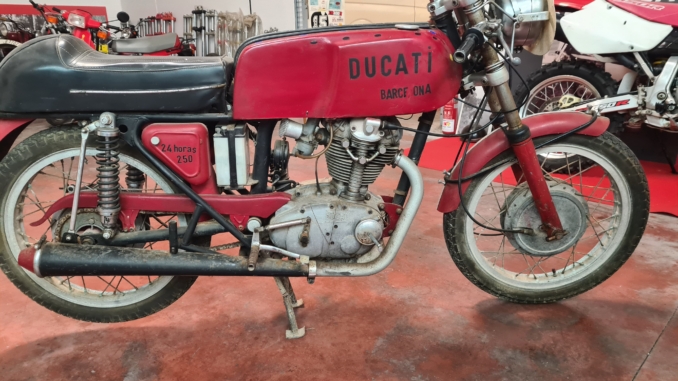
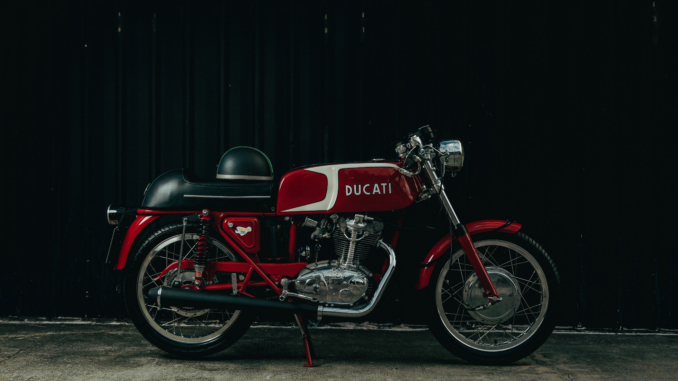
Once it was all together, it was packed onto the trailer and taken to my friend Graham’s house for the wiring to be completed. Graham also kindly volunteered to help with the first start up. Bernie had given me instructions on how to pre oil areas that wouldn’t get much lubrication until the pump built pressure, so I was feeling confident.
Our procedure was methodical. We completed the wiring, tested the electrics, and then removed the valve covers and bevel gear drive cover to lubricate everything generously. We kicked the bike over without the spark plug to prime the oil pump, then replaced the covers. Using an electric starter under the rear wheel, we turned the bike over in third gear to distribute and pressurise the oil system. Finally, we replaced the plug and fired her up.
The bike ran, but it was a bit rough due to a carburation problem I decided to leave until Bernie returns from holiday. My experience with these older Ducatis is limited. There are also a few tidy up jobs left, like adjusting the Grimeca twin leading shoe front brake, which needs to be set up correctly to work at its best.
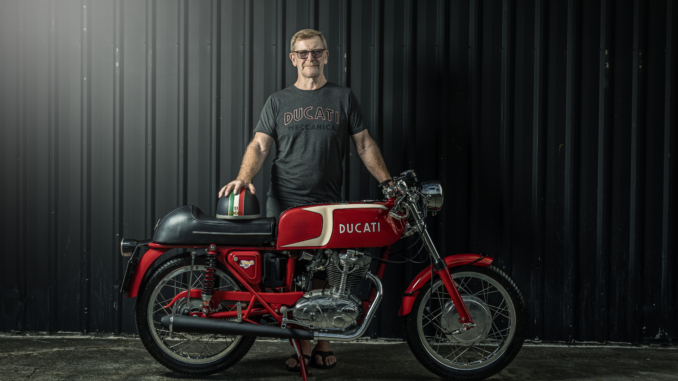
The project took longer than expected, but the journey from a dusty corner of Spain to a running motorcycle has been incredibly rewarding. Now, with just a few final adjustments, the bike will be ready for its next adventure. The only question is, will the rider be ready?